
Knox
To enable the Ranger Knox plugin on a Kerberos-enabled cluster, perform the steps described below.
Create the system (OS) user
rangerknoxlookup. Make sure this user is synced to Ranger Admin (under Settings>Users/Groups tab in the Ranger Admin UI).Create a Kerberos principal for
rangerknoxlookupby entering the following command:kadmin.local -q 'addprinc -pw rangerknoxlookup rangerknoxlookup@example.com
Navigate to the Knox service.
Click the Config tab and navigate to advanced ranger-knox-plugin-properties.
Update the following properties with the values listed in the table below.
Table 3.22. Knox Plugin Properties
Configuration Property Name Value Ranger service config user rangerknoxlookup@example.com Ranger service config password rangerknoxlookup common.name.for.certificate blank After updating these properties, click Save and then restart the Knox service.
Open the Ranger Admin UI by entering the following information:
http://ranger-host>:6080
username/password - admin/admin. or use username as shown in advanced ranger-env under the Config tab of the Ranger service, and password as shown in Admin Settings.
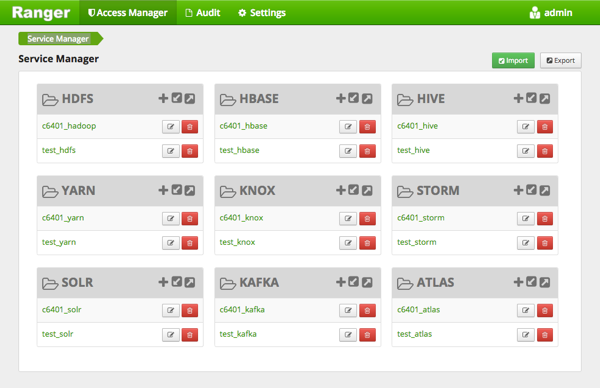
After you have successfully logged into the system, you will be redirected to the Access Manager page.
Click the repository (clusterName_hadoop) Edit option under the HDFS box.

[D]Update the following properties listed in the table below under the Config Properties section:
Table 3.23. Knox Configuration Properties
Configuration Property Name Value fs.default.name hdfs hadoop.rpc.protection blank common.name.for.certificate blank Click Named Test Connection. You should see a Connected Successfully dialog box appears.
Click Save.