

Installing Spark Using Ambari
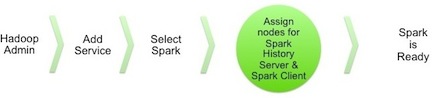
The following diagram shows the Spark installation process using Ambari. Before you install Spark using Ambari, refer to Adding a Service for background information about how to install Hortonworks Data Platform (HDP) components using Ambari.
![[Caution]](../common/images/admon/caution.png) | Caution |
|---|---|
During the installation process, Ambari creates and edits several configuration files. If you configure and manage your cluster using Ambari, do not edit these files during or after installation. Instead, use the Ambari web UI to revise configuration settings. |
To install Spark using Ambari, complete the following steps.
Click the Ambari "Services" tab.
In the Ambari "Actions" menu, select "Add Service."
This starts the Add Service wizard, displaying the Choose Services page. Some of the services are enabled by default.
Scroll through the alphabetic list of components on the Choose Services page, and select "Spark":

![[Note]](../common/images/admon/note.png)
Note If you want to install the Spark2 technical preview (not for production use), you can also select Spark2. Ambari installs it alongside Spark 1.6.
When running two Spark versions side by side, see Specifying Which Version of Spark to Use for information about choosing which Spark version runs a job.
Click "Next" to continue.
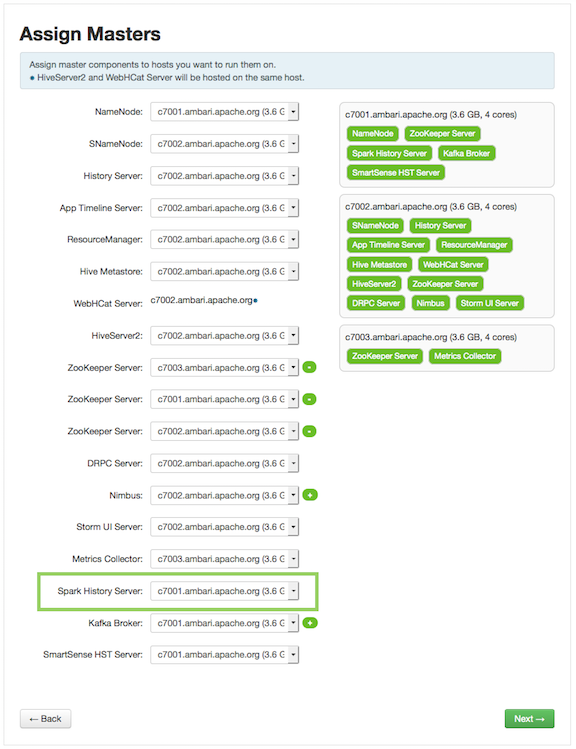
On the Assign Masters page, review the node assignment for the Spark history server, modify the assignment if desired, and click "Next":
On the Assign Slaves and Clients page, choose the nodes that you want to run Spark clients; these are the nodes from which Spark jobs can be submitted to YARN:
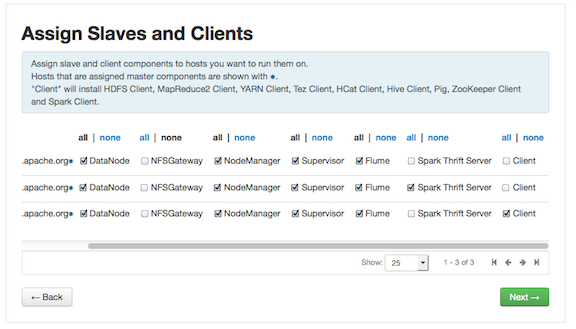
To install the optional Spark Thrift server for ODBC or JDBC access now, review node assignments on the Assign Slaves and Clients page and assign one or two nodes to it, as needed. Deploying the Thrift server on multiple hosts increases scalability of the Thrift server; the number of hosts should take into consideration the cluster capacity allocated to Spark.
To install the Thrift server after Ambari finishes installing Spark, see Installing the Spark Thrift Server after Deploying Spark.
To install the optional Livy server (for features such as user identity propagation from Zeppelin to Spark), check the "Livy Server" box for the desired node assignment on the Assign Slaves and Clients page.
Click "Next" to continue.
Unless you are installing the Spark Thrift server now, use the default values displayed on the Customize Services page:
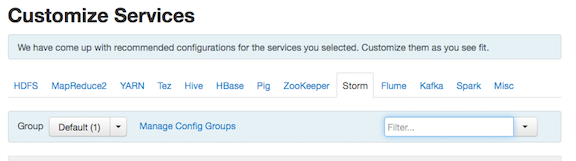
If you are installing the Spark Thrift server at this time, complete the following steps:
Click the "Spark" tab on the Customize Services page.
Navigate to the "Advanced spark-thrift-sparkconf" group.
Set the
spark.yarn.queuevalue to the name of the YARN queue that you want to use.
Click "Next" to continue.
When the wizard displays the Review page, ensure that all HDP components shown correspond to HDP 2.5.0 or later.
Click "Deploy" to begin installation.
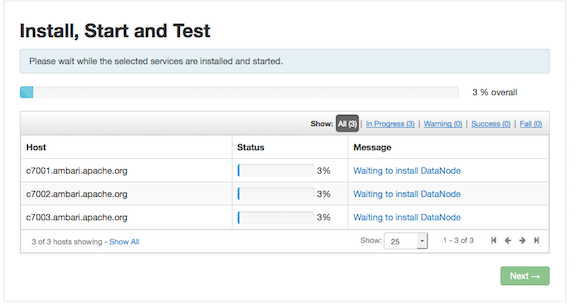
When Ambari displays the Install, Start and Test page, monitor the status bar and messages for progress updates:
When the wizard presents a summary of results, click "Complete" to finish installing Spark.