
Registering a Custom Sink in SAM for AWS S3
To register any custom sink in SAM, there are three artifacts you need:
- Artifact 1: Code for the custom sink using the underlying streaming engine. Since SAM today supports Storm as the Streaming engine, you can refer to the following artifacts for the custom sink:
- Artifact 2: Code for mapping the SAM configs to the custom/spout. Refer to the following artifacts for this mapping code:
- Artifact 3: Flux mapping file to map the SAM config to the S3 Sink. Refer to the following artifacts
To register the custom S3 Sink in SAM using the above three artifacts, perform the following steps:
- Download the Sam-Custom-Extensions.zip to the host where SAM is installed (if you haven’t done it in a past step).
- Unzip the contents. We will call the unzipped folder $SAM_EXTENSIONS.
- Switch to user streamline.
sudo su streamline
- Install Artifact 1 (the custom sink/bolt code) on host’s local maven
repo.
cd $SAM_EXTENSIONS/custom-sink/s3

mvn install:install-file \
-Dfile=storm-s3-0.0.1-SNAPSHOT.jar \
-DgroupId=hortonworks.storm.aws \
-DartifactId=storm-s3 \
-Dversion=0.0.1-SNAPSHOT \
-Dpackaging=jar
- Register the custom sink via SAM REST call. Replace SAM_HOST and
SAM_PORT.
curl -sS -X POST -i -F \
topologyComponentBundle=@config/s3-sink-topology-component.json -F \
bundleJar=@sam-custom-sink-s3.jar \
http://SAM_HOST:SAM_PORT/api/v1/catalog/streams/componentbundles/SINK
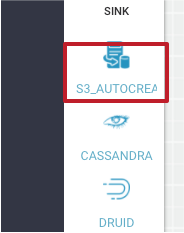
- On the SAP App Canvas Palette, you should now see S3 sink.
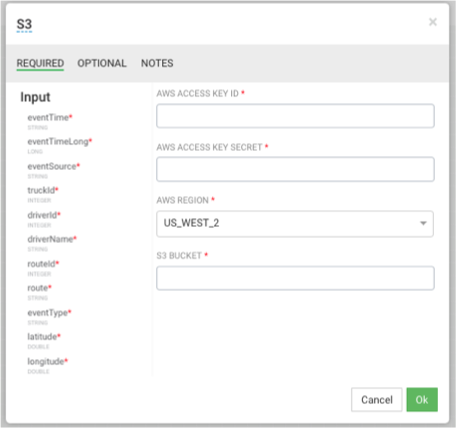
- Dragging the S3 sink onto the canvas and double clicking it, you should see the
following s3 dialog. The dialog properties comes from the topologyComponentBundle flux
config you used to register the custom sink.